This walks you through using an image as an overlay on top of Googlemaps.
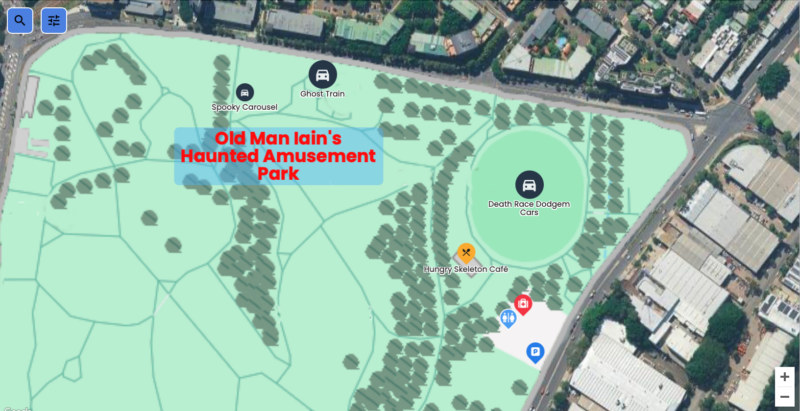
Preview of image overlay map, with markers and labels added.
Step by step:
-
- Register or login to your account on Mapiddiction – there’s a Free trial with no credit card needed.
- From the main dashboard use the [+ New] button in the Maps menu:

- Select “Overlay Map” to highlight it then click the Next button:


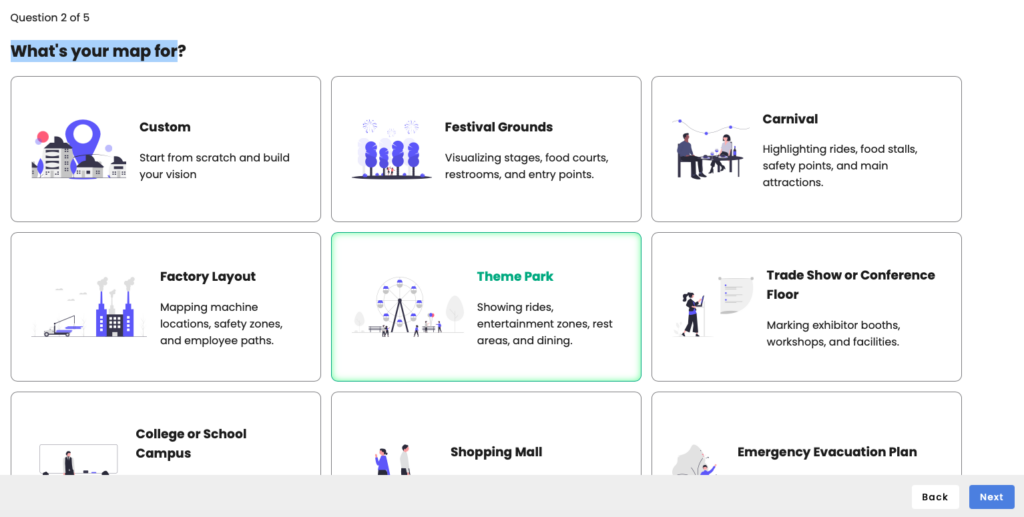
- The “What’s your map for?” screen lets you choose from a range of categories, which adds a default set of Marker pin icons/categories to your map. You can always change and add new Marker Types later. If none of the categories fit, just choose “Custom”. Highlight your selection and click the Next button:
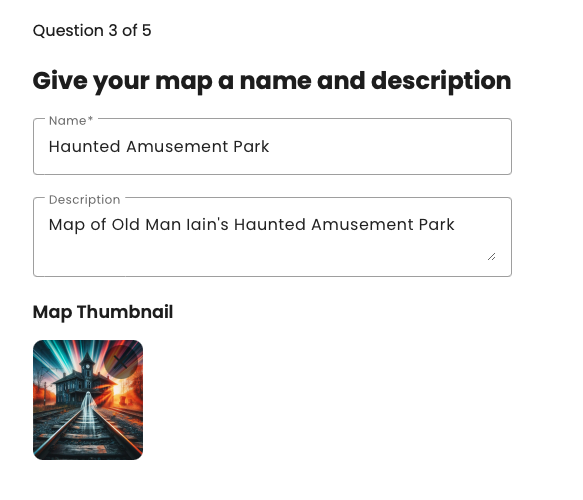
- Give your map a name and description – and add a thumbnail image if desired:
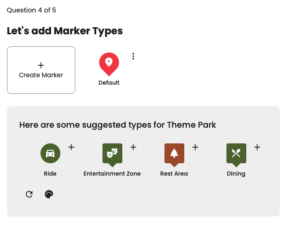
- All maps start with there “Default” Marker Type, you can add others from the suggestions based on the “What’s you map for?” selection. Click the + to add any suggestion you might want. You can leave any out that you don’t want. You can always add extra Marker Types later:

- Check and confirm your map info:
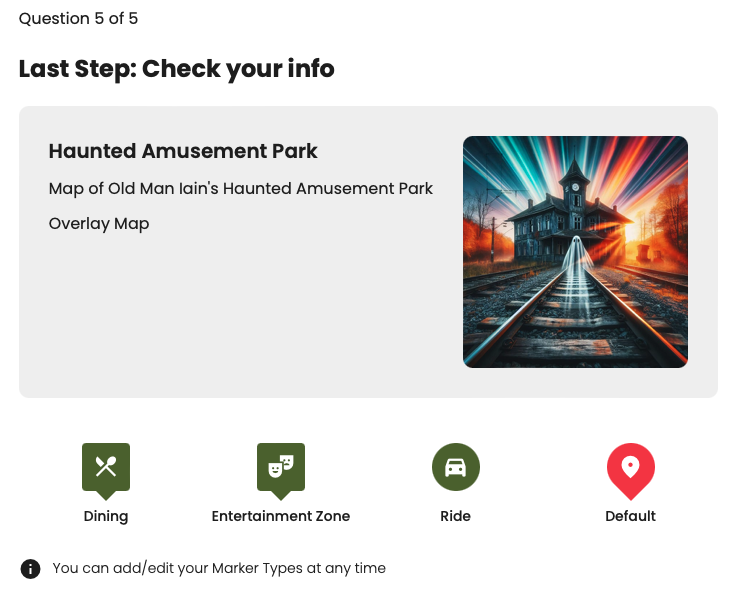
- Next you set that Map Area. You can pan/zoom on the Googlemap to the place you want, or search by address:
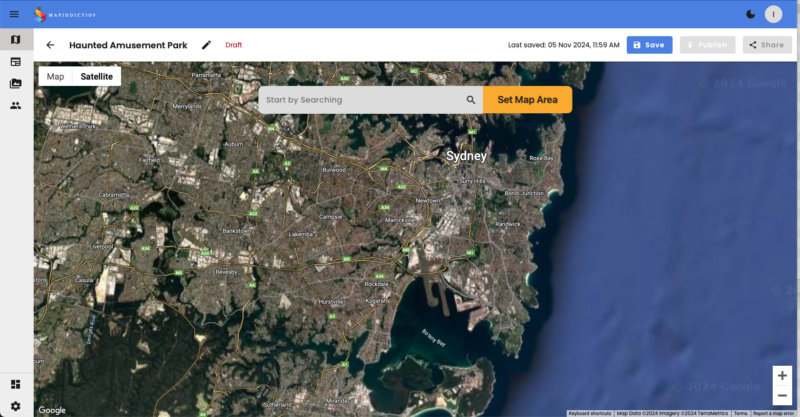
- Pan and Zoom until the area you want to overlay you custom map image fills as much of the screen as possible, then click the Set Map Area button::
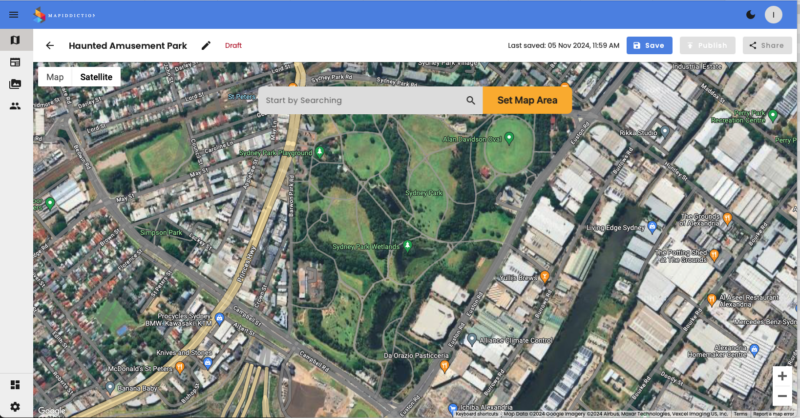
- Next, you add your overlay image – click the Add Overlay Image button, and select or upload your image:

- Now you align or calibrate your image to the Googlemap underneath:
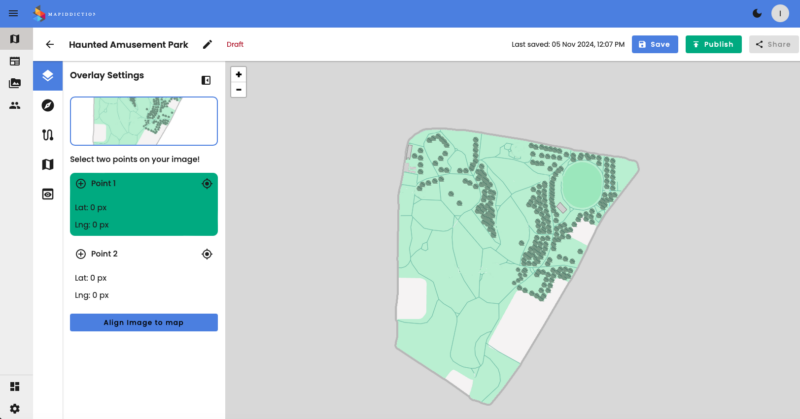
- You need to choose two points on your image that you can accurately align with the same two points on the Googlemap view of the same place. Switching between Googlemap’s satellite and street view might make this easier. You need to choose two points that are as far apart as possibly, and ideally not on a straight vertical or horizontal line – opposite corners or points on a diagonal line work best.
Select points 1 and 2 on your image (zooming in close to get it as accurate as you can) and click Align Image To Map.
Then select the same two points (in the same order) on the Googlemap and click Align Layers
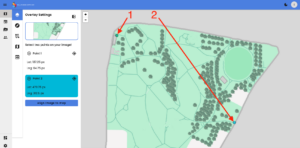
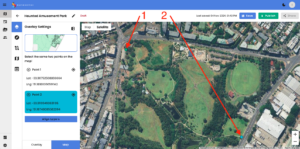
- You can use the Overlay Opacity slider to check the important features on your image align correctly with the underlying Googlemap:

- You’re done! You can now start adding Markers:

- Next steps:
- Add Markers and Marker Types
- Add labels
- Add content to Markers
- Preview your map
- Publish your map
- Share your map
- Add to a website
- Share by Email
- Share by SMS
- Share with a QR Code


